These next few pictures are of 2 T/D recurves I have built. I used a slightly modified design from Bingham Projects. Most of my supplies also came from Bingham's. www.binghamprojects.com
|
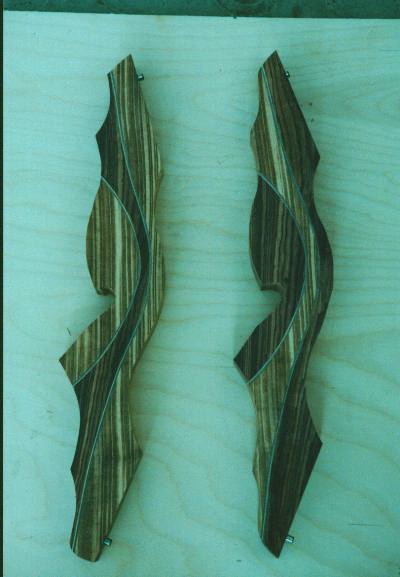
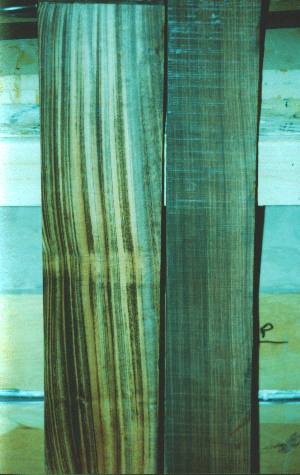 Tigerwood and Coco bolo
These are 2 of my favourite woods. I ordered them online from Eisenbrand Exotic Hardwoods. They sent me some great wood. There web site is: http://www.eisenbran.com/
Tigerwood and Coco bolo
These are 2 of my favourite woods. I ordered them online from Eisenbrand Exotic Hardwoods. They sent me some great wood. There web site is: http://www.eisenbran.com/ |
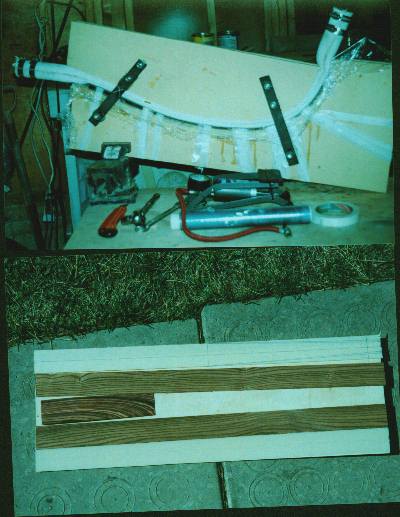
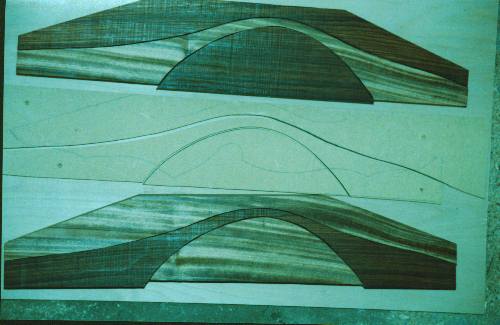 The basic outline was cut on a table saw. Then the flares were cut using a band saw. The 2 flares were switched, accent strips of black fibreglass and red elm were added and the risers were glued up.
 |
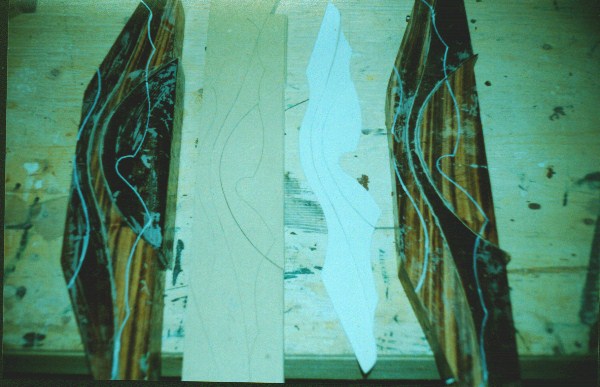 Here is the risers after the glue up.
 |
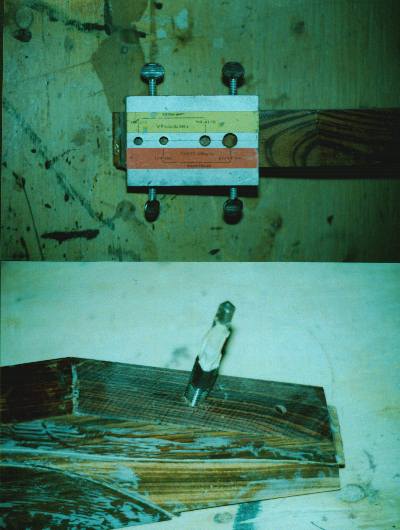 The Drilling Jig
I used a jig purchased from Binghams to drill the holes for the threaded riser inserts and alignment pins. I also used this jig to drill the matching holes in the limbs.
The Drilling Jig
I used a jig purchased from Binghams to drill the holes for the threaded riser inserts and alignment pins. I also used this jig to drill the matching holes in the limbs. |
 Glueing up the limbs
I used 2 laminations of red elm with 2 strips of clear bowtuff glass. For one bow I used red elm wedges, the other I cut wedges of Coco Bolo.
Glueing up the limbs
I used 2 laminations of red elm with 2 strips of clear bowtuff glass. For one bow I used red elm wedges, the other I cut wedges of Coco Bolo.
The laminations are coated with epoxy, then laid on a form. I have a length of fire hose with caps on each end. This is laid on top of the laminations, then the top of the press is installed. I then inflate the fire hose with air to #60 pressure. This squeezes the laminations together for a tight fit. Then it is heat cured in a hot box for 4 hours at 170f. Limbs are done 1 at a time.
|
 The basic riser cuts.
|
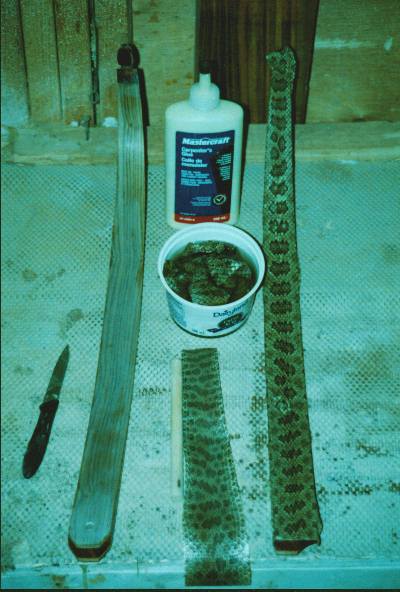 Snake it and love it!
After all 4 limbs were complete I glued on the limb tips and shaped the limbs.
Snake it and love it!
After all 4 limbs were complete I glued on the limb tips and shaped the limbs.
Putting snake skin on a bow limb is something I have always wanted to do. I purchased skins and received instructions from Paul Brunner. His web site is http://brunners.net/pauls.htm |
